
Unfortunately, at some point you may encounter the “UNEXPECTED INCONSISTENCY” on your Linux system. Dropping you into a console (command prompt) on boot time for you to solve the problem manually. Basically, your file system has crashed and needs repairing for your system to boot successfully. This demonstration uses the Ubuntu distribution. However, you can follow a similar approach if you are using a different distribution.
Why The UNEXPECTED INCONSISTENCY Error
File system corruption tend to occur from time to time for a wide variety of reasons. And power failures and disk errors being possible reasons. In addition, applying software updates and kernel patches without reboots is another reason for file system corruption and where “UNEXPECTED INCONSISTENCY” is thrown at you. Luckily, in most situations file systems are capable of repairing themselves, but not when UNEXPECTED INCONSISTENCY error occurs.
How to Fix the UNEXPECTED INCONSISTENCY Error and Get Your System up and Running
Step 1: Boot up Your System
Boot up your system so that you drop into the Linux console for troubleshooting. In most situations this happens automatically. If not make sure to select the appropriate menu option.

In the screenshot above note the line where it says “/dev/xvda1 contains a file system with errors, check forced“. In this situation the damaged file system is “/dev/xvda1”. However, it may or may not be different on your system.
Step 2: Run the fsck Tool and Repair The File System
Now that the damaged file system has been identified, the next step is to repair it. In the console type in “fsck /dev/xvda1” (without quotes) and press ENTER. Make sure you replace “/dev/xvda1” if your system report differently.

In the process of being repaired the fsck tool will identify errors and will ask you to confirm necessary actions. Press ENTER on any request to initiate file system repairs. If this did not work try “fsck -fy” as discussed here and here.
Step 3: File System Repairs Succeeded
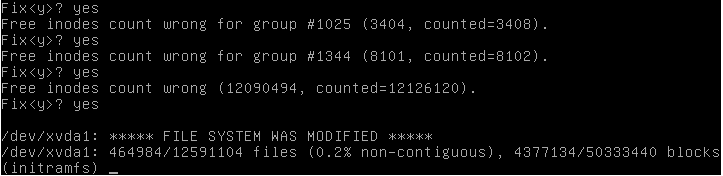
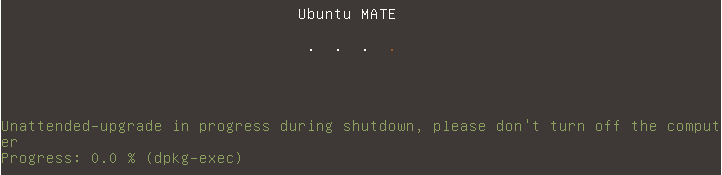
By now you should see a similar message which indicate that the file system repair was successful. Simply type “reboot” (without quotes) to reboot the system. You should now see the normal Linux boot screen which indicates a working file system.
Step 4: Apply Software Updates and Kernel Patches
Make sure to update the operating system and the applications now that you have logged in. If you are using Ubuntu or any Debian based Linux distribution, type in the following: sudo apt-get clean; sudo apt-get update; sudo apt-get upgrade
Alternatively, use yum update; yum upgrade if you are using CentOS, Fedora or any Red Hat based Linux distro.
Conclusion
Hopefully by now you should have your system up and running. If this solution worked for you, or if you used an alternative approach to repair the “UNEXPECTED INCONSISTENCY” error, feel free to share your thoughts with other Linux enthusiasts below.
Recommended Reading: How to Set up a VPN for Free